The kitchen is the beating heart of the home, the place where families gather, memories are made, and daily nourishment is prepared. However, when this essential room begins to show signs of wear, becomes inefficient, or simply no longer meets modern needs, it is time to take action. A full kitchen renovation is one of the most complex yet rewarding home improvement projects you can undertake. A common mistake is underestimating the planning phase: without a clear roadmap, costs can skyrocket by 20-30% and timelines can stretch indefinitely.
In this guide, we will walk you through a step-by-step kitchen renovation, covering every stage of the process, from the initial assessment to the final touches, to transform your kitchen into the space of your dreams without any unpleasant surprises.
Quick Answer: Kitchen Remodel Strategy
Where to start? Always begin with a structural and utility audit (plumbing/electric) before picking aesthetics.
Best ROI: Focus on high-quality cabinetry and quartz countertops.
Common Failure: Changing the layout (moving gas/water lines) can double your labor costs instantly.
Table of Contents
Kitchen renovation: Where to start
Renovating a kitchen requires meticulous planning to avoid serious and costly mistakes. Before purchasing your first tile or picking out a cabinet color, it is essential to understand exactly where to begin. The preliminary phase determines the success or failure of the entire project.

Assessment of the Current State
At George Living, we’ve seen homeowners spend thousands on luxury tiles only to tear them up weeks later because of a hidden pipe leak. Start with an honest analysis:
Structural Integrity: Are your cabinet carcasses rotting or just dated?
Code Compliance: Are your outlets GFCI-protected? In 2026, outdated wiring is the #1 reason projects fail inspection.
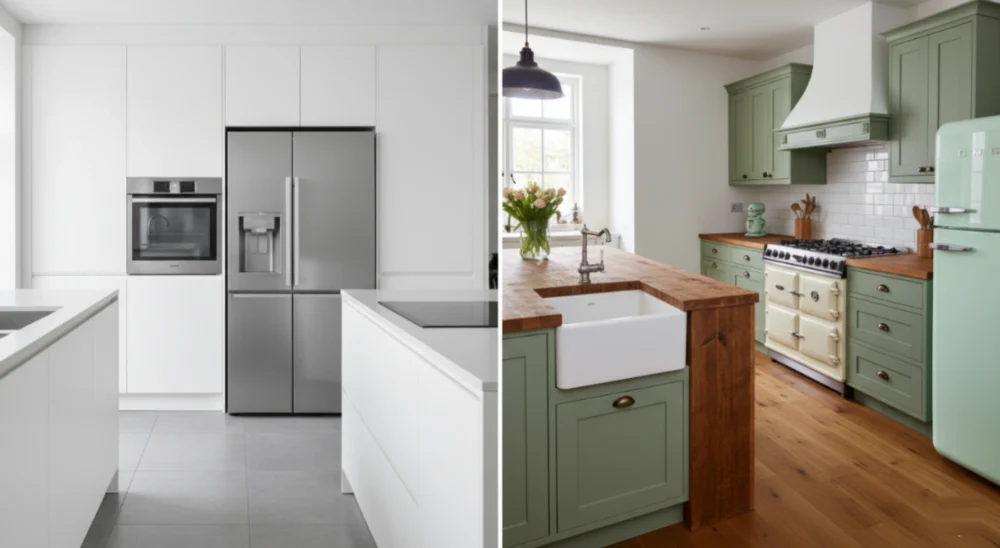
Defining goals and style
Ask yourself: how do you actually use your kitchen? Are you a passionate chef who needs ample workspace and professional equipment, or is the kitchen mainly a pit stop for quick meals? The answer to these questions will determine the project’s priorities.
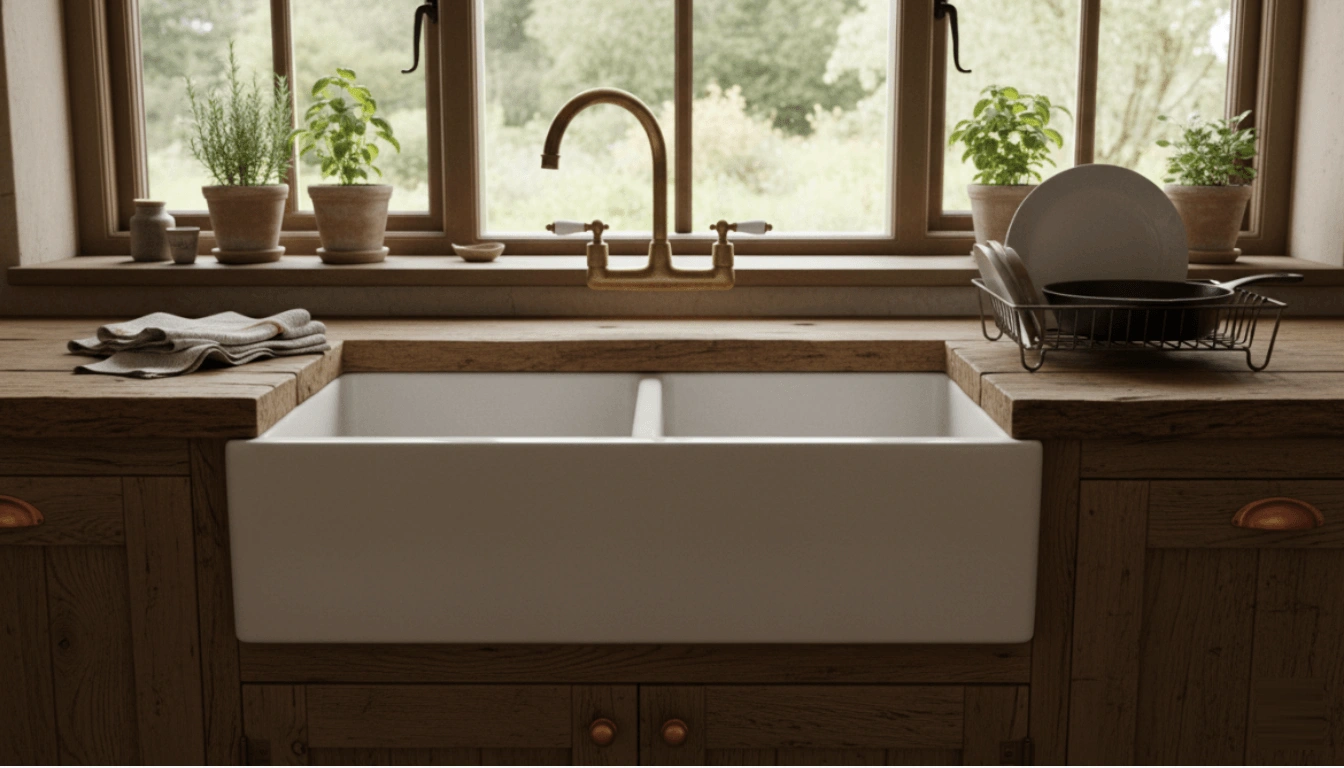
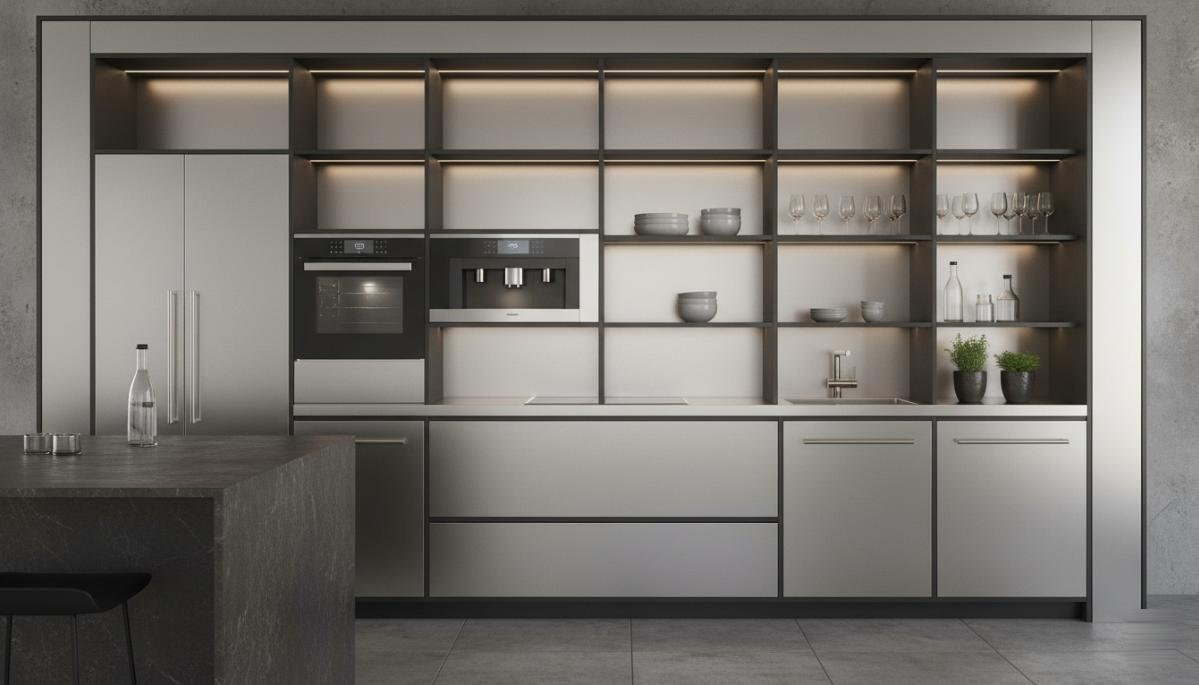
At the same time, define your desired style: minimalist modern kitchen, traditional rustic kitchen, industrial kitchen, or perhaps a Scandinavian kitchen? Creating an inspiration board on Pinterest or gathering images from specialized magazines will help you visualize the final result and effectively communicate your ideas to the professionals you hire.
How to Plan a Kitchen Remodel (Budget & Team)
Proper planning is the backbone of any successful renovation project. If you skip this phase, you’re essentially rolling out the red carpet for chaos to move right in.

Creating a realistic budget
“How much does a new kitchen cost?” is easily the most common question, but honestly, it’s the least helpful one. The better question to ask yourself is: “How much should I budget for a complete kitchen renovation?”
Setting a detailed budget is your most critical step. The golden rule here is to set aside 20% of your total budget for the “surprises” that inevitably pop up once the work begins. Generally, the costs break down like this:
- 35–40%: Cabinetry and appliances
- 20%: Labor and installation
- 15%: Flooring and wall coverings
- 10%: Plumbing and electrical systems
- 15%: Contingencies and final finishes
Note: Remember that the cost of a new kitchen depends on several factors, including material quality, the size of the room, technical complexity, and even your geographic location.
A mid-range renovation typically fluctuates between €10,000 and €30,000, while luxury projects can easily climb past €50,000.
2026 Cost Breakdown (George Living Project Averages):
| Category | Budget Allocation | Priority |
| Cabinetry & Appliances | 35–40% | High (The “Bones”) |
| Labor & Installation | 20% | High |
| Flooring & Walls | 15% | Medium |
| Plumbing & Electrical | 10% | Critical (Safety) |
| Contingencies | 15-20% | Mandatory |

Selecting Your Professional Team
Selecting your professional team
Can you plan a kitchen renovation on your own? Unless you have specific expertise in construction, plumbing, and electrical work, you’re going to need a reliable team behind you.
Typically, this group includes a designer or architect, a contractor, and certified plumbers and electricians. Choosing the right experts can be the difference between a smooth project and a total bureaucratic nightmare. The George Living Design Team offers hands-on consulting to coordinate every aspect of your renovation, ensuring everything stays stylistically and functionally consistent.
Before signing any contracts, keep these tips in mind:
- Always request at least three detailed quotes.
- Verify references and past work.
- Ensure all licenses and insurance policies are up to date and in order.

Timeline and Permits
Once your budget is set and your team is in place, it’s time to build a realistic timeline. A complete kitchen renovation generally takes anywhere from 4 to 12 weeks, depending on the complexity of the job.
Don’t forget the paperwork! Check with your local municipality to see which permits you need. Structural changes, moving utility lines, or altering the floor plan almost always require official building permits.
Pro Tip: Submit your paperwork well in advance to avoid “red tape” delays. Also, it’s a class act to let your neighbors know when the noisiest work will be happening, it goes a long way in keeping the peace!
Design and layout: the heart of the project
The work triangle
The “work triangle” concept remains a fundamental pillar of kitchen design. For peak efficiency, the total distance between the refrigerator, sink, and stovetop should stay within a range of 3.6 to 7.8 meters. Specifically, to keep the workflow tight but not cramped, each side of that triangle should be at least 1.2 meters but no more than 2.7 meters.
This ergonomic principle is all about minimizing those unnecessary steps during meal prep, saving your energy for the actual cooking. That said, in modern open-plan homes or kitchens where “too many cooks” is actually the goal, we’re seeing an evolution toward distinct “work zones” dedicated specifically to preparation, cooking, and cleaning.

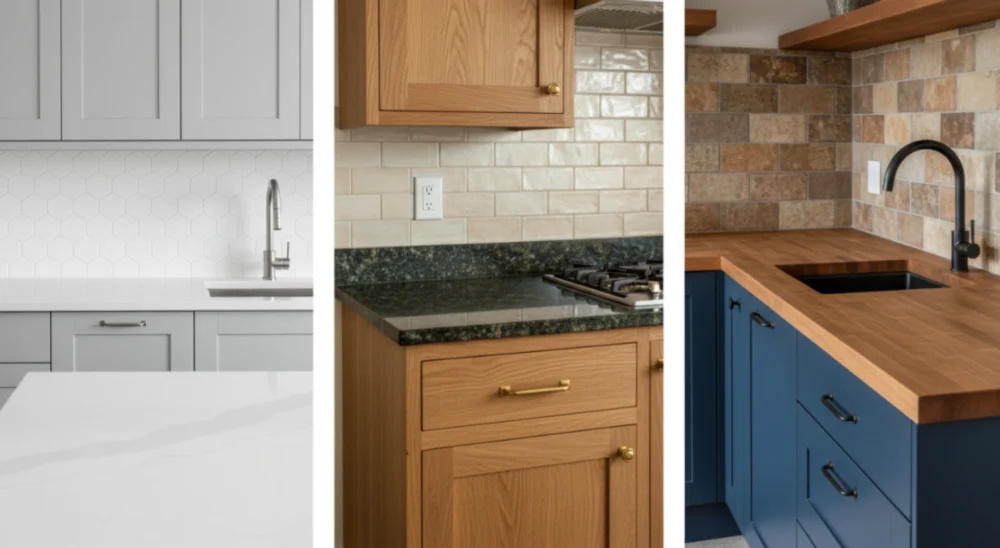
Selecting materials and finishes
Choosing the right materials for a new kitchen impact much more than just the look; it dictates how the space will age and how much effort you’ll spend on upkeep. For countertops, quartz is the go-to for durability and low maintenance, whereas granite offers a timeless, natural elegance but requires periodic sealing. If you’re after warmth, wood is unbeatable, though it does demand consistent care.
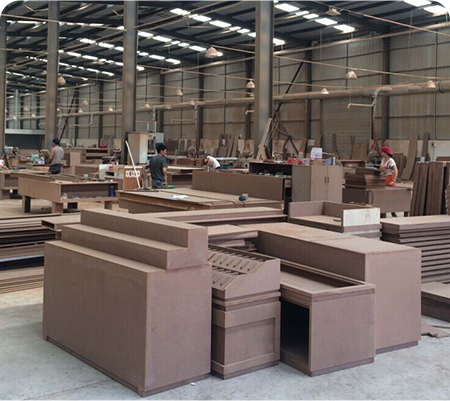
Don’t overlook the “bones” of your cabinetry either, investing in high-quality hinges and drawer slides from brands like Blum or Hettich ensures a smooth, fluid experience for decades. Take a look at the George kitchen furniture collection to find the perfect balance between sophisticated Italian design and everyday practicality.
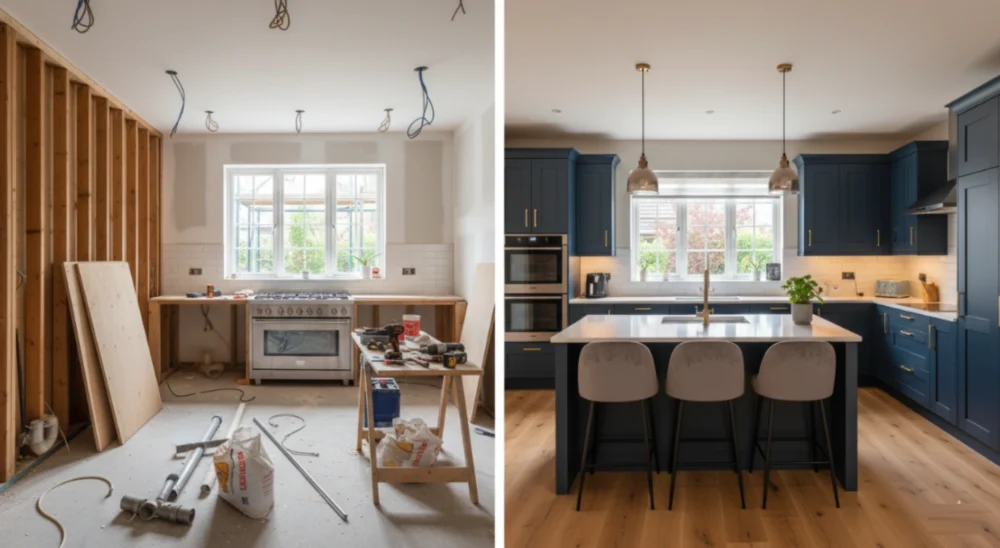
Demolition and site preparation
Safety and protection
Before you start tearing out your old kitchen, it is vital to safeguard the rest of your home. Seal off the workspace using heavy-duty plastic sheeting, cover any air vents to prevent dust from migrating, and clear or protect belongings in neighboring rooms. Safety is non-negotiable: always wear personal protective equipment, including an FFP2 or FFP3 mask, safety goggles, durable gloves, and steel-toe boots.
Responsible disposal
Removing old kitchen cabinetry creates a surprising volume of debris. Plan your disposal strategy ahead of time to ensure materials like wood, metal, and glass are properly recycled. Most local municipalities provide collection services for large quantities of construction waste, or you can opt to rent a skip. Crucially, ensure that water, gas, and electricity are professionally disconnected before any demolition work begins.
Utilities: The Invisible but Crucial Part
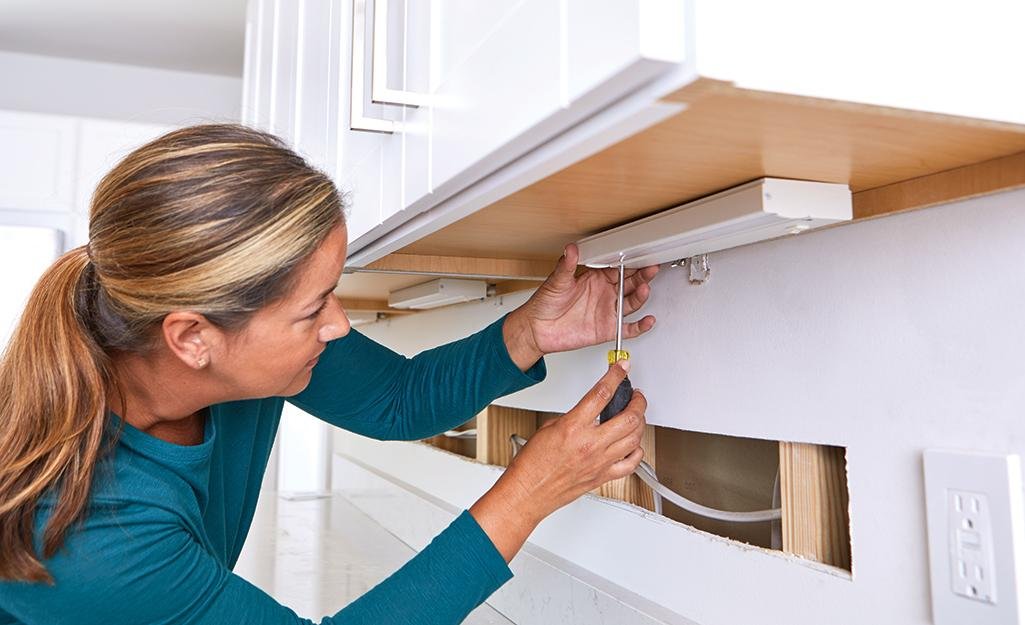
How to plan electrical and lighting upgrades during a kitchen renovation
Planning the electrical and lighting upgrades during your kitchen renovation requires a careful look at your daily habits. Think about where you’ll use small appliances: toasters, blenders, and coffee machines all need dedicated outlets near the work surface. Consider adding integrated USB ports for charging mobile devices.
For lighting, adopt a layered approach: general lighting (ceiling lights or recessed spotlights), task lighting under wall units for the countertop, and accent lighting for glass cabinets or islands. It’s also worth installing dimmers to adjust the light intensity based on the time of day and the desired mood.
Plumbing and Gas Upgrades
If you move the sink or dishwasher, or install a new gas cooktop, you’ll need to modify the plumbing and gas lines. This is a task that always requires certified professionals. Consider the opportunity to install a faucet with an integrated filter or an under-sink reverse osmosis system for filtered water directly from the tap. Finally, ensure that all pipes are properly insulated to prevent condensation and heat loss.
Installation: Floors, Wall Coverings, and Furniture
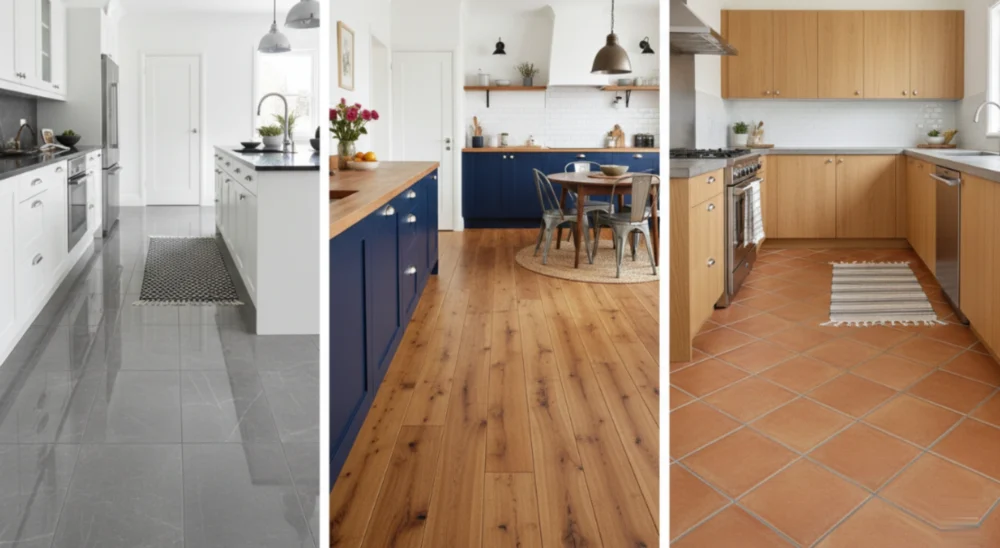
Kitchen floor renovation
The renovation of the kitchen floor requires special attention because this element must withstand heavy foot traffic, dropped objects, water splashes, and temperature fluctuations. The most popular options include:
- Porcelain tile:Extremely durable, waterproof, and available in endless designs that imitate wood, stone, or concrete.
- Luxury Vinyl Tile (LVT):Warm to the touch, water-resistant, and more budget-friendly than real wood.
- Engineered wood:Offers the warmth of natural wood with greater dimensional stability compared to solid hardwood.
- Polished concrete:A modern industrial aesthetic; very durable but can feel cold and hard underfoot.
Should the kitchen floor be installed after positioning the built-in cabinets? The answer depends on the material: for floating floors such as laminate or vinyl, it is better to install them after the furniture to avoid compression. For tiles or glued parquet, install them first for a more professional result and to make future furniture replacements easier.
Cabinetry and Appliance Assembly
The installation of kitchen cabinets generally follows a specific sequence: first the wall units (starting from the corners), then the base units, and finally the tall pantry cabinets. Always use a laser level to ensure everything is perfectly level and plumb.
Kitchen appliances should be installed after the cabinetry, but make sure that all dimensions were double-checked before ordering. A common mistake is purchasing appliances before finalizing the cabinet design, which risks size incompatibilities or issues with door clearance.
Finishes and Final Touches
Backsplashes and Aesthetic Details
The backsplash isn’t just decorative; it protects the wall from splashes and stains. Choose easy-to-clean materials like glazed tiles, glass, or thin quartz panels. Epoxy grouts are more stain-resistant than traditional cement-based ones.
Testing and Initial Maintenance
Before considering the job finished, test every element: open and close all doors and drawers, check the water flow and drainage, and verify that all appliances are functioning correctly. Test every electrical outlet and switch. Document any defects or necessary adjustments with your contractor before making the final payment.
Table: Kitchen Renovation Phases Checklist
Phase | Estimated Duration | Percentage Cost | Priority |
Planning and Budgeting | 2-4 weeks | 0-5% (design) | High |
Demolition | 3-7 days | 5-10% | Medium |
Utilities (Electrical/Plumbing) | 1-2 weeks | 15-20% | High |
Floors and Wall Coverings | 1-2 weeks | 10-15% | High |
Cabinet Installation | 1-2 weeks | 35-40% | High |
Appliances and Finishes | 3-7 days | 15-20% | Medium |
Testing and Touch-ups | 2-3 days | 5% | High |
FAQ
Q1. How long does a complete kitchen renovation take?
A complete kitchen renovation generally takes between 6 to 12 weeks for projects of average complexity. However, this timeframe can extend to 4–6 months if complex building permits are required, custom-made features are requested, or if structural surprises arise. Planning ahead and selecting materials that are immediately available can significantly reduce the lead time.
Q2. Is it possible to live at home during the kitchen renovation?
Living at home during kitchen renovation work is possible but challenging. The most difficult stages will be during demolition and the installation of utilities, when dust and noise are unavoidable. If possible, plan the most invasive work for periods when you can be away, or consider an alternative stay for the 1–2 most critical weeks.
Q3. How can I save money on the renovation without compromising quality?
To save on a kitchen renovation without sacrificing quality, keep the current layout of the plumbing and gas lines to avoid costly relocations. Consider “refacing” (replacing only the doors) if the cabinet frames are solid. Buy appliances during seasonal sales and always compare at least three quotes. Invest in elements you use daily (like the countertop) and save on less critical details like handles or decorative items.
Conclusions
A step-by-step kitchen renovation is a journey that demands patience, meticulous planning, and smart investments, but the final result will radically transform how you experience your home. Every decision, from selecting materials to the layout of your appliances, contributes to creating a space that reflects your personality and meets your daily needs. Don’t tackle this project alone: rely on the expertise of George Living, where dedicated professionals will guide you from the initial concept to the final installation, ensuring quality, reliable timelines, and a result that exceeds your expectations. Your dream kitchen is closer than you think.