As an installer with over 200 square feet of experience with large-format PVC panels, I’ve learned what truly matters—and what’s just marketing noise. 4×8 PVC Wall Panels are game-changers for wet areas, but choosing the right material is critical.
This guide combines my real-world testing with verified data from top manufacturers (like Trusscore and Duramax) to give you the honest truth.
Table of Contents
Part 1: Understanding PVC Wall Panels (The Basics That Actually Matter)
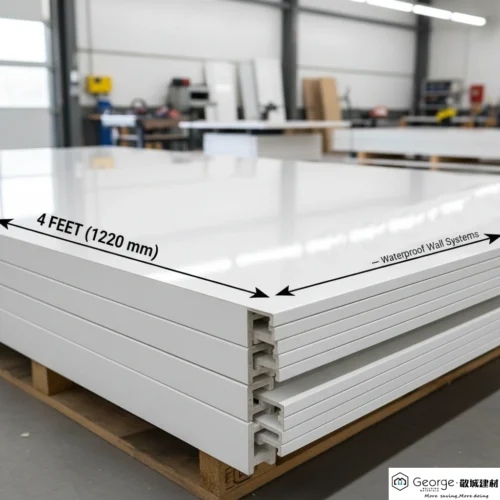
1.1 Defining PVC Wall Panels & The 4×8 Standard
Here’s the thing – these large format PVC panels come in the standard 4 feet by 8 feet size. Think of them like the plastic version of drywall, except they’re waterproof, don’t grow mold, and you can install them way faster.
These panels are made from polyvinyl chloride (yeah, that’s what PVC stands for), which is the same stuff used in plumbing pipes. But don’t worry – the wall panel version is obviously different and actually looks pretty decent these days.
The beauty of this size is simple: one sheet covers 32 square feet. That’s a massive time-saver compared to installing multiple smaller pieces.
1.2 Why These Panels are Superior to Drywall in Wet Areas
These panels aren’t perfect, but they’re great for specific situations. Here’s what I’ve learned:
The Good:
- Waterproof. I installed these in my bathroom three years ago – zero water damage.
- Easy installation. If I can do it, you can too.
- Low maintenance. Wipe them down. That’s it.
- Cost-effective. Factor in labor and materials, they often win.
The Not-So-Good:
- Can look cheap if you buy bottom-tier stuff.
- Not great for every room.
- Some people dislike the plastic appearance.
1.3 Best Use Cases: 4×8 PVC Panels for Bathroom, Kitchen, and Commercial
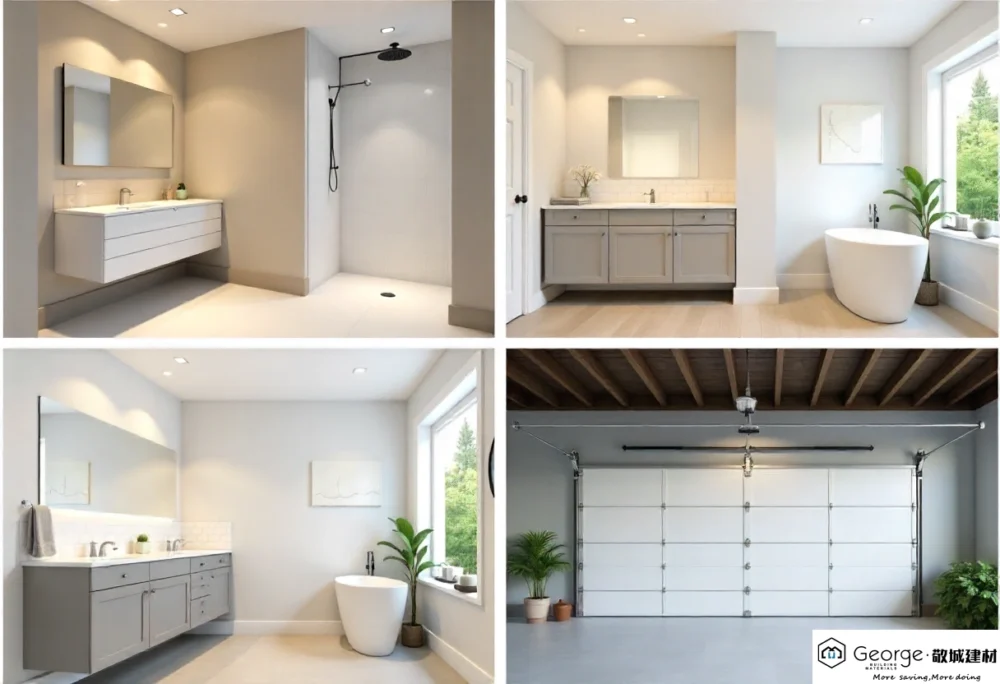
Residential:
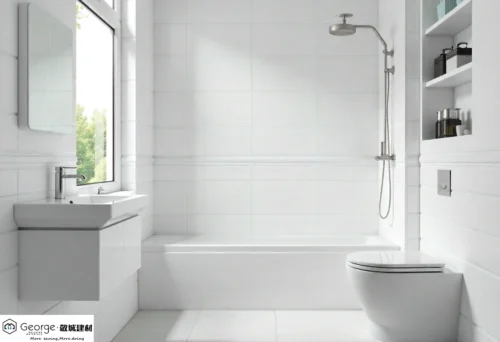
- Bathrooms – This is the sweet spot. The 4×8 waterproof wall panels are perfect for moisture-prone areas.
- Kitchen backsplashes – Works well behind sinks where water splashes constantly.
- Basements – Especially if you’ve got moisture issues. These don’t care about humidity.
- Garages – Easy to clean oil stains and dirt.
- Bedrooms – For pvc wall panelling design for bedroom spaces, especially accent walls, some of the new wood-grain patterns actually look pretty decent.
Commercial:
- Food processing areas (they meet health codes)
- Retail spaces (easy to clean, durable)
- Utility rooms
- Hospital corridors
Part 2: Choosing the Right Wall Panels (What Actually Matters)

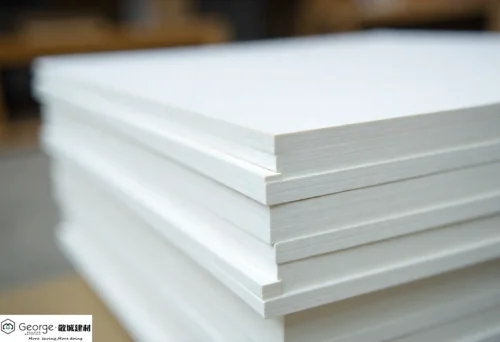
2.1 Beyond 4×8 Size: Comparing Solid Core vs. Hollow Core PVC Panels
Thickness – Critical Factor
My first panels were thin 3mm ones that flexed. Not ideal.
- 3mm panels: Budget option, but they flex.
- 5mm panels: Sweet spot for most projects.
- 8-10mm panels: Premium option with better soundproofing.
Finish & Design
- High-gloss: Easier to clean, reflects light, shows fingerprints.
- Matte: More forgiving, hides imperfections.
- Textured: Realistic patterns like marble and wood grain.
Safety & Compliance
This isn’t exciting, but it matters:
- Fire rating (especially for commercial use)
- VOC emissions (some cheaper panels smell awful when new)
- Look for certifications if you’re doing commercial work
2.2 Types of 4×8 PVC Panels
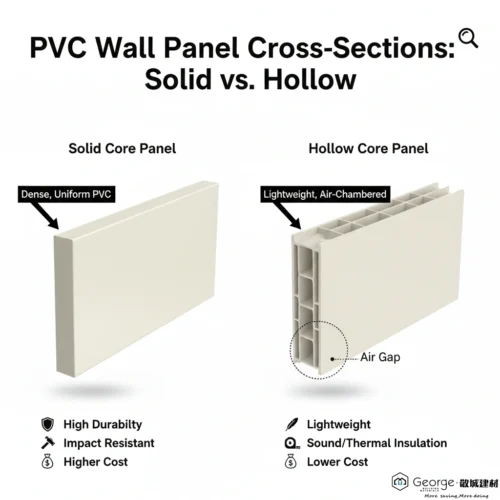
Solid Core vs. Hollow Core: The Final PVC Panel Comparison
| Feature | Solid Core | Hollow Core |
| Durability | More impact-resistant, feels premium | Can dent with hard impact |
| Weight | Heavier (harder to install alone) | Lightweight (easy solo install) |
| Price | $45-85 per panel | $25-45 per panel |
| Best For | High-traffic areas, commercial use | Residential, low-impact areas |
I’ve used both. For my bathroom, I went solid core because I wanted that premium feel. For the basement utility room? Hollow core was fine and saved me like $300.
Interlocking (T&G) vs. Flat PVC Sheets: The Installation Choice
Here’s my take: interlocking panels are easier for DIYers but have visible seams. Flat sheets with adhesive give a cleaner look but require more precision during installation.
Contact Us for a Project Consultation
Why pay more? At George’s Furniture, we cut out the middlemen to bring you premium furniture, flooring, doors, windows, and more—all at prices up to 40% below retail. With 19+ years of experience and 600 consultants, we provide complete, custom project solutions, from initial design to final delivery.
2.3 How to Calculate Your Needs Accurately
Don’t just measure your wall and divide by 32 square feet. Here’s what I do:
- Measure actual wall area(length × height)
- Subtract windows and doors
- Add 10-15% for cuts and mistakes– Trust me, you’ll make at least one bad cut
- Consider panel direction– Vertical vs. horizontal affects how many panels you need
Quick example: My bathroom was 96 sq ft of wall space. I needed 3 full panels but ordered 4 because I knew I’d screw up some cuts around the window.
Part 3: Step-by-Step Installation & Tools (Practical Guide)
3.1 Preparation Checklist
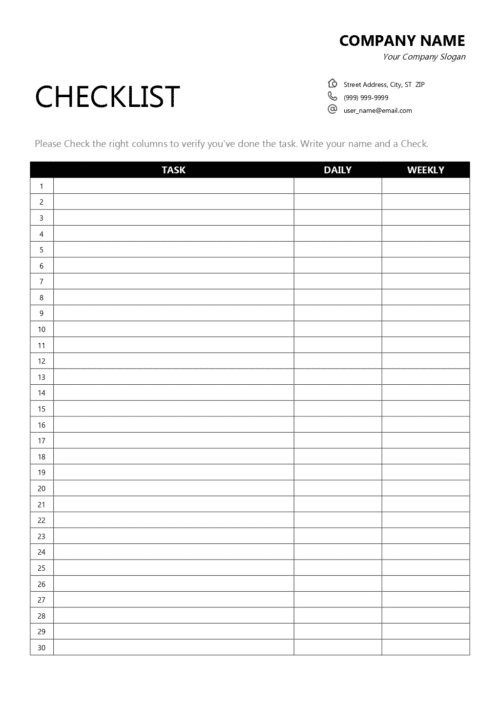
List of necessary tools:
- Utility knife or circular saw
- Tape measure
- Level (don’t skip this – wonky panels look terrible)
- Caulking gun
- Adhesive
- Safety glasses
Wall preparation: Ensuring the substrate is clean, dry, and flat
Your wall needs to be in good shape before you start. I spent a whole weekend fixing wall irregularities before installing, and it was absolutely worth it. Bumps and dips will show through the panels.
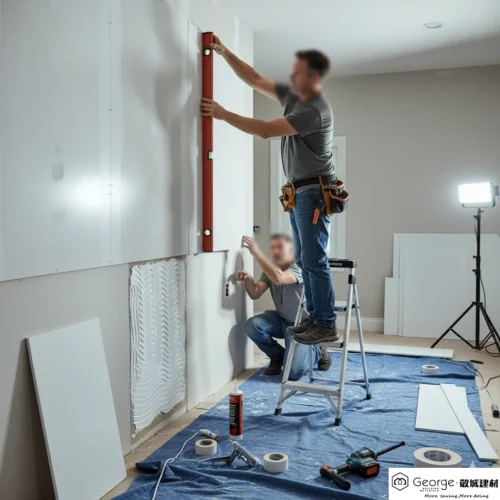
3.2 Installation Walkthrough (Focusing on Adhesive/Screw Mounting)
Step 1: Measuring and Cutting
Measure twice, cut once.
For cutting 4×8 pvc sheets:
- Utility knife for thin panels (score and snap)
- Circular saw for thick panels
- Always wear safety glasses
Step 2: Adhesive Application and Panel Placement (Recommended adhesives)
Here’s what works for me: construction adhesive in a zigzag pattern on the back of the panel. Not too much (it’ll squeeze out), not too little (panel won’t stick).
I use Loctite Power Grab or Liquid Nails Heavy Duty. Both work great. Apply the adhesive about 1 inch from edges and in continuous beads across the back.
Step 3: Securing and Alignment (Tips for flawless seam connection)
Press the panel firmly against the wall, starting from one corner. Use a level constantly – every panel. Your seams need to line up perfectly, or the whole project will look amateur.
If you’re using the interlocking type, click the tongue into the groove before fully securing.
Step 4: Edge and Seam Finishing (Using trim pieces and sealant)
This is where your project goes from “DIY” to “looks professional.”
- Use trim pieces for edges and corners
- Apply silicone sealant in wet areas (bathroom, kitchen)
- Wipe excess sealant immediately – it’s way harder to remove once it cures
Contact Us for a Project Consultation
Why pay more? At George’s Furniture, we cut out the middlemen to bring you premium furniture, flooring, doors, windows, and more—all at prices up to 40% below retail. With 19+ years of experience and 600 consultants, we provide complete, custom project solutions, from initial design to final delivery.
3.3 Troubleshooting Common Installation Errors
Problem: Panels won’t stay flush at seams
Solution: Your wall probably isn’t flat. Add shims or extra adhesive to fill gaps.
Problem: Visible gaps between panels
Solution: Make sure you’re pushing panels tight together before adhesive sets. Use trim to cover any remaining gaps.
Problem: Panels look wavy
Solution: This usually means inconsistent adhesive application. Remove and reinstall.
Part 4: Pricing and Brand Recommendations (Decision Support)
4.1 Cost Breakdown: PVC Panel Material Cost vs. Pro Installation Price
Average price range based on quality and thickness:- Budget hollow core: $25-35
- Mid-range hollow core: $35-50
- Premium hollow core: $50-65
- Solid core budget: $45-60
- Solid core premium: $60-85
Cost comparison: DIY vs. professional installation
Here’s the breakdown for a typical bathroom (150 sq ft wall coverage):DIY Option:- Materials: $250-400
- Adhesive and trim: $50-75
- Total: $300-475
- Materials: $300-475
- Labor: $500-800
- Total: $800-1,275
4.2 Brand Recommendations
Budget-Friendly:- Duramax: Decent quality for the price. Used these in my garage.
- Dumawall: Good for small projects, easy interlocking system.
- NuDura: Good quality, realistic wood grain options, fair pricing around $45-55 per panel.
- DPI: Solid reputation, widely available at big box stores.
- Trusscore: Expensive ($70-85 per panel) but the quality is noticeable.
Disclaimer: This guide is not sponsored. All brand mentions (e.g., Trusscore, Duramax) are based on personal testing and independent product research.
4.3 Where to Buy
Big Box Stores:- Home Depot and Lowe’s carry basic options
- Good for seeing panels in person
- Limited design options
- Amazon has decent selection, but shipping costs can be brutal
- Specialized retailers often have better designs
Part 5: 4×8 PVC Panels vs Drywall (The Showdown)

When comparing plastic wall panels 4×8 to traditional drywall, each has its place.
When Panels Win:
- Wet environments (bathrooms, kitchens, basements)
- Areas needing frequent cleaning
- DIY projects (way easier installation)
- Quick renovations (no drying time, no painting immediately)
When Drywall Wins:
- Living spaces, bedrooms (more traditional look)
- When you want custom paint colors
- Fire resistance is critical
- Budget is super tight for dry areas
Wall Panels VS Wall Drywall: Cost & Performance Table:
| Factor | Panels | Drywall |
| Material Cost | $30-70 | $15-25 |
| Installation Time | 1 weekend | 1 week |
| Moisture Resistance | Excellent | Poor |
| Maintenance | Wipe clean | Paint every 5-7 years |
| Lifespan (Wet Areas) | 20+ years | 5-10 years |
My verdict? Use each where it makes sense. I’ve got waterproof panels in my bathroom and basement, drywall everywhere else. That’s the smart approach.
The vinyl wall panels 4×8 for bathroom applications specifically make perfect sense. The moisture resistance alone justifies the extra cost.
Conclusion
These panels are genuinely useful for specific applications. They’re not a universal solution, but for wet areas, basements, or spaces where easy maintenance matters, they’re honestly hard to beat. The 4×8 PVC panels for bathroom use have saved me from the mold issues that plague so many bathrooms.
Are they perfect? No. They can look cheap if you buy bottom-tier products, and they’re not right for every room. But when used appropriately, they’re a solid choice that’ll save you time, money, and hassle in the long run.
If you’re considering these for a bathroom or basement project, I’d say go for it. Just don’t cheap out on the panels themselves – spend the extra $15-20 per panel for mid-range quality.
Frequently Asked Questions
Q1: Are 4×8 PVC wall panels waterproof?
Yes. PVC panels are 100% waterproof and ideal for bathrooms, kitchens, and basements. They resist mold, humidity, and water penetration better than traditional drywall.
Q2: How long do PVC panels last?
High-quality panels typically last 15–25 years, depending on thickness, installation, and exposure to sunlight.
Q3: Can I install them over existing tiles?
Yes, if the tiles are flat and firmly attached. For uneven or textured tiles, use a backer board before applying adhesive.